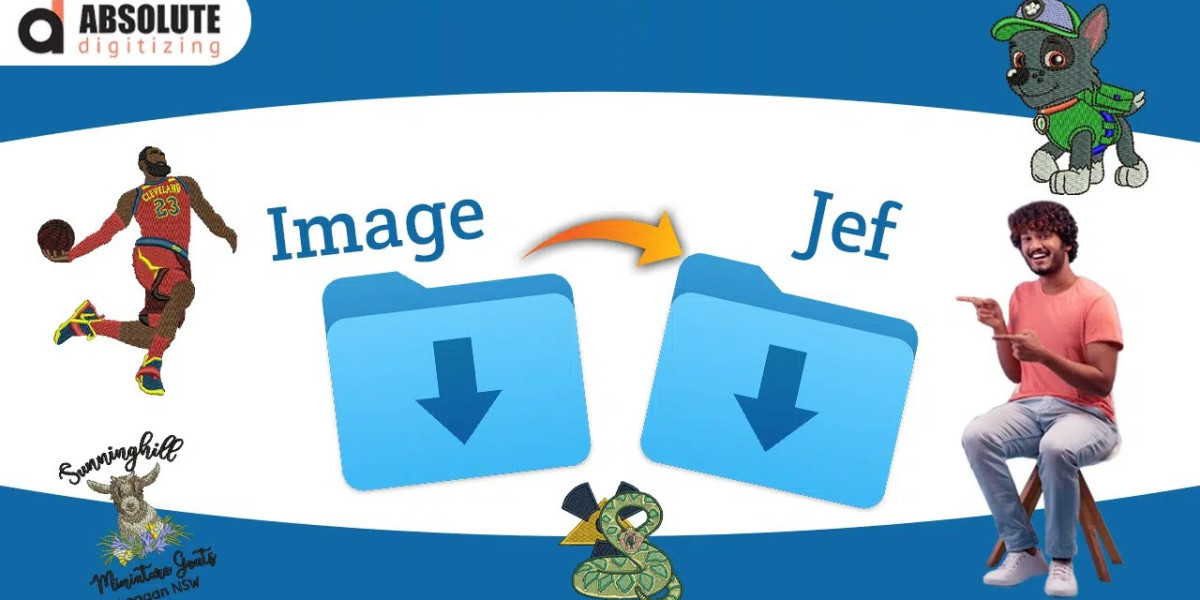

Have you ever found the perfect logo or picture and thought, “I wish I could stitch this on my embroidery machine”? The good news is that you can—but there is an important step between an image and a stitch-ready design.
Image to JEF embroidery conversion turns artwork such as JPG or PNG files into a JEF embroidery file that compatible embroidery machines can read. However, it is not as simple as changing the file extension. The image first needs to be converted into stitch information through embroidery digitizing.
In this guide, you will learn how the process works, what makes a good JEF file, how to prepare your artwork, and what to check before stitching.
What Is a JEF Embroidery File?
JEF is a machine embroidery file format associated with certain embroidery equipment. Instead of storing pixels like a JPG or PNG, a JEF file contains stitch information that tells an embroidery machine how to create a design.
A machine-ready embroidery file can contain information such as:
- Stitch placement
- Stitch sequence
- Thread color changes
- Stitch direction
- Needle movements
- Design dimensions
- Jump and trim instructions, when supported
This is why simply renaming an image from .jpg to .jef does not work. The internal structure must contain actual embroidery instructions.
What Is Image to JEF Embroidery Conversion?
Image to JEF embroidery conversion is the process of turning artwork into a properly digitized embroidery design and exporting it in the JEF format.
The basic workflow looks like this:
JPG/PNG artwork → Embroidery digitizing → Stitch editing → JEF export → Test stitching
During digitizing, the artwork is broken into sections and converted into suitable stitch types.
For example, a large solid area may use fill stitches, while a narrow border may work better with satin stitches.
Why Can't You Directly Convert a JPG to JEF?
A JPG is made from pixels. An embroidery machine does not understand pixels in the same way a computer screen does.
The machine needs instructions such as:
Start here → place these stitches → change thread → stitch this section → move to the next area.
That information has to be created during the digitizing process.
This is why quality matters more than simply finding a tool that changes one file extension into another.
How Image to JEF Embroidery Conversion Works
Step 1: Prepare the Image
Start with the cleanest artwork possible.
A high-resolution logo or vector-based image is usually easier to work with than a small, blurry picture.
Before digitizing, remove unnecessary elements such as:
- Background noise
- Unwanted shadows
- Tiny decorative details
- Low-quality edges
- Extra text
The goal is to give the digitizer a clear design to work from.
Step 2: Decide the Final Embroidery Size
Determine where you will stitch the design and how large it needs to be.
A logo intended for a shirt chest will have different requirements from a large jacket design or decorative piece.
Consider:
- Garment type
- Available hoop size
- Fabric thickness
- Smallest design details
- Required lettering size
Deciding the final size early helps create more accurate stitch settings.
Step 3: Separate the Design Into Sections
The artwork is divided into different elements.
For example, a simple logo may contain:
- Background shape
- Main lettering
- Border
- Small decorative elements
Each part can then be assigned a suitable embroidery stitch type.
Step 4: Select the Right Stitch Types
Different shapes require different stitch structures.
Common options include:
Fill stitches: Useful for covering larger areas.
Satin stitches: Often used for borders, columns, and suitable lettering.
Running stitches: Helpful for fine outlines and narrow details.
Choosing the right stitch type helps the final embroidery look cleaner and more natural.
Step 5: Set Stitch Density
Stitch density controls how closely stitches are placed.
Too little density can leave gaps or allow the fabric to show through. Too much density can create bulky embroidery and increase the risk of thread breaks.
Density should be adjusted based on:
- Fabric
- Design size
- Stitch type
- Thread
- Underlay
- Embroidery area
There is no single density setting that works perfectly for every design.
Add Proper Underlay
Underlay creates a foundation underneath the visible stitches.
It can help stabilize the fabric and support the top layer of embroidery.
Depending on the design and material, different underlay approaches may be useful. The right choice can improve coverage and reduce distortion.
However, adding excessive underlay is not automatically better. Too much stitching can create unnecessary bulk.
Use Pull Compensation
Fabric can move or distort slightly as stitches are formed. This is known as pull.
Pull compensation helps account for this effect and can improve the final shape of letters and design elements.
For example, a narrow satin column may become slightly narrower during stitching. Proper compensation can help maintain the intended appearance.
Handle Small Details Carefully
One of the biggest challenges in image to JEF embroidery conversion is dealing with tiny artwork details.
A thin line that looks sharp on a monitor may disappear when converted into thread.
Similarly, tiny text can become difficult to read.
Before finalizing a design, ask:
- Is the detail large enough to stitch?
- Is the lettering readable?
- Are the gaps between elements sufficient?
- Is the design too complicated for its size?
Sometimes simplifying the artwork produces a much better embroidered result than trying to reproduce every tiny detail.
Choose the Correct Thread Colors
Digital artwork may contain dozens of colors, but embroidery does not always need that many.
A professional digitizer may simplify the palette while preserving the overall appearance of the original artwork.
When preparing your JEF file, consider the actual embroidery threads you have available.
Remember that screen colors and physical thread colors can look different. Always use a thread chart or actual samples when accurate color matching matters.
Check the Hoop Size
Before exporting the final JEF file, make sure the design fits the intended hoop.
If your embroidery design is too large, your machine may not be able to load or stitch it correctly.
Check:
- Maximum hoop width
- Maximum hoop height
- Design dimensions
- Design orientation
- Placement margins
It is better to check these details before stitching than to discover a sizing problem after transferring the file.
Export the Design as JEF
Once the design has been digitized and reviewed, export or save it in JEF format if it is compatible with your machine and workflow.
Do not simply rename the file extension.
A proper export creates the machine-readable stitch structure needed for embroidery.
Before transferring the design, open the finished JEF file in compatible embroidery software or your machine's preview system when possible.
Transfer the JEF File to Your Machine
Once your JEF file is ready, transfer it using a method supported by your embroidery machine.
Common transfer methods may include:
- USB flash drive
- Direct computer connection
- Compatible storage media
- Wireless transfer on supported equipment
After transferring the file, open it on your machine and review the design preview.
Check the size, orientation, thread sequence, and overall appearance before starting the embroidery.
Test Stitch the Converted Design
A test stitch is one of the best ways to verify an image-to-embroidery conversion.
Use fabric and stabilizer similar to the final project.
Watch for:
- Thread breaks
- Puckering
- Gaps
- Poor coverage
- Uneven lettering
- Excessive thread buildup
- Distorted shapes
If the sample does not look right, return to the digitized file and adjust the stitch settings rather than simply repeating the same stitch-out.
Common Problems During Image to JEF Conversion
The Design Looks Too Detailed
Printed artwork can contain details that are too small for embroidery.
Solution: Simplify tiny elements and focus on the parts that matter most visually.
The Embroidery Is Too Dense
Too many stitches can create stiff or bulky areas.
Solution: Review density, overlaps, and underlay.
Small Text Is Unreadable
Tiny fonts may not translate well into thread.
Solution: Increase letter size, simplify the lettering, or use an embroidery-friendly font.
The Design Does Not Fit the Hoop
The artwork may have been digitized without considering the final embroidery area.
Solution: Confirm the hoop size before digitizing and exporting.
Colors Do Not Look the Same
Thread and screen colors are not identical.
Solution: Compare actual thread samples with the original artwork before finalizing the color plan.
Image to JEF Conversion vs. Professional Digitizing
It is important to understand the difference between automated conversion and professional embroidery digitizing.
An automatic converter may trace image shapes and create stitches quickly. This can be useful for simple artwork, but the result may require significant editing.
Professional digitizing considers how the design will actually stitch.
A skilled digitizer can adjust:
- Stitch direction
- Density
- Underlay
- Pull compensation
- Stitch order
- Lettering
- Thread changes
- Small details
For logos, uniforms, promotional products, and other important projects, these details can make a major difference.
When Should You Use Professional JEF Digitizing?
Professional help may be worthwhile when:
- Your artwork contains small text.
- The logo has multiple overlapping elements.
- You need consistent results for business garments.
- The design must work on difficult fabric.
- The artwork needs major changes for embroidery.
- Automated conversion produces poor results.
- You need a clean, machine-ready JEF file.
At Absolute Digitizing, artwork can be prepared specifically for embroidery instead of relying on a simple file-extension change. The focus is on creating a design that is practical to stitch and suitable for the intended fabric and size.
Tips for Better JEF Embroidery Results
For a smoother workflow, keep these tips in mind:
- Start with high-quality artwork.
- Decide the final embroidery size before digitizing.
- Remove unnecessary image details.
- Choose stitch types based on each design element.
- Avoid excessive stitch density.
- Use appropriate underlay.
- Check small lettering carefully.
- Match colors with actual thread where possible.
- Confirm the hoop size.
- Always test important designs before final stitching.
Frequently Asked Questions
How do I convert an image into a JEF embroidery file?
An image such as JPG or PNG must first be digitized into embroidery stitches. After the design is properly prepared, it can be exported as a JEF file if the format is compatible with your embroidery machine.
Can I change a JPG file extension to JEF?
No. Changing .jpg to .jef does not convert the image into an embroidery file. A JEF file needs actual stitch instructions created through embroidery digitizing.
What image format is best for JEF digitizing?
High-resolution artwork with clean edges is usually easier to digitize. Vector artwork can be especially useful, but a good-quality JPG or PNG can also serve as source artwork.
Why does my converted JEF file look different when stitched?
Embroidery uses thread instead of pixels, so some details may need to be simplified. Stitch density, underlay, fabric, thread, and design size can also affect the final appearance.
Can I resize a JEF file after conversion?
Small size adjustments may be possible, but major resizing can affect stitch quality. For significant changes, having the design properly re-digitized at the new size is often a better option.
Conclusion
Image to JEF embroidery conversion is more than changing an image into a different file extension. The artwork needs to be transformed into carefully planned stitch instructions that an embroidery machine can understand.
For the best results, start with clean artwork, choose the correct size and hoop, use suitable stitch types, control density, handle small details carefully, and test the finished JEF design before using it on the final garment.
When the design matters, quality digitizing can make the difference between an embroidery file that simply opens and one that actually stitches beautifully.